A regression tool for QA is build into ResInsight. This tool will do the following:
- Scan a directory for sub directories containing a RegressionTest.rsp files.
- Each found project file will be opened, and all views in this project will be exported as snapshot images to file.
- When snapshot images from all projects are completed, difference images based on generated and QA-approved images are computed.
- Based on these three sets of images, an HTML report is created and automatically displayed.
Regression Test Files
As the model size of some test files is quite large, the test data is located in a separate repository. In addition, some of the files are stored using Git Large File Storage.
How to Run Regression Tests
To be able to run regression tests you need the compare tool from the ImageMagic suite.
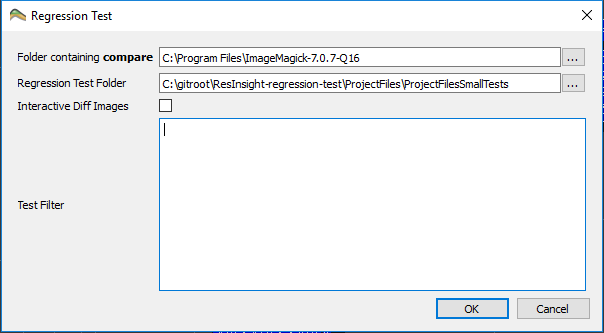
You can start the tests either from the command line or from the ResInsight Gui. From the ResInsight Gui select : File->Testing->Regression Test Dialog

Specify location of compare tool in Folder containing compare. The current working directory of ResInsight is temporarily changed to this path during execution.
To execute a subset of tests, specify folder names separated by “;” in the Test Filter. If the test filter is empty, all tests are executed.
Creating Regression Tests
An example of the folder structure is shown below:
RegressionTestFolder/
  TestCase1/
    RegressionTest.rip
    RegTestBaseImages/
    RegTestDiffImages/
    RegTestGeneratedImages/
  TestCase2/
    ...
To create regression tests you need to do the following:
- Create a root directory containing one directory for each test case.
- In each of the Test Case folders create a ResInsight project file called RegressionTest.rip.
- Run the regression test for the first time, and thereby creating images that can be used as Base images.
- Rename the generated RegTestGeneratedImages/ folder to RegTestBaseImages/
Now you are all set to test new releases of ResInsight towards your own Regression tests.